
New
QR-based complaint handling—easy & fast

This guide explains how to register a company for the first time or add an additional company in Hada.
To start using Hada, you must first register a company (organization), which serves as the core unit that groups checklists, facilities, workers, and complaints together.
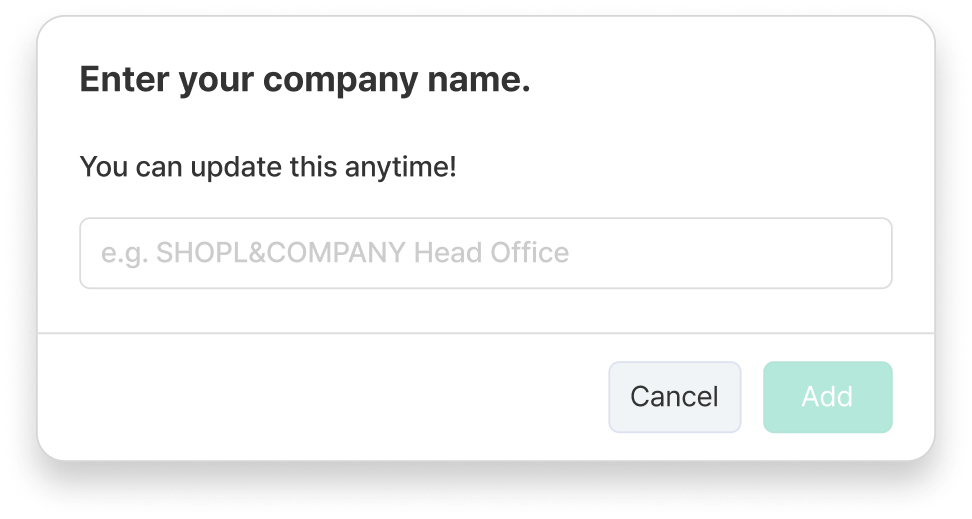
If no company is registered, a pop-up saying "Please enter a company name." will appear after you log in. You can always edit this later in Company Information.
1. Enter the company name in the input field. (Example placeholder: Shopl & Company)
2. Click Add. If you cancel, the pop-up will close.
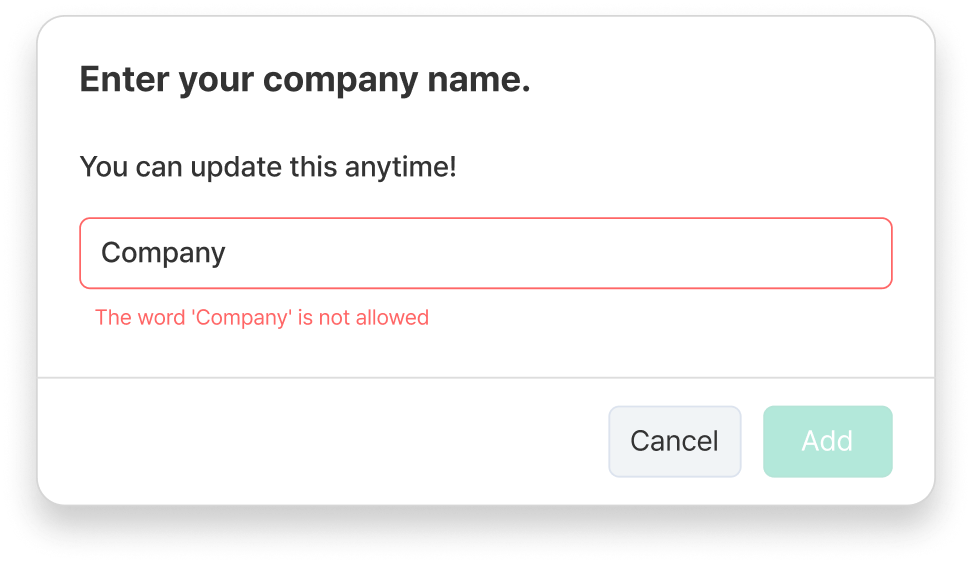
⚠️ Some names cannot be used. For example, if you enter "Company", a message saying "Company" cannot be used will appear, and the input field will turn red. Please use a different name.
Once registration is complete, you will be redirected to the dashboard, and the company name you just created will be displayed at the top of the screen.
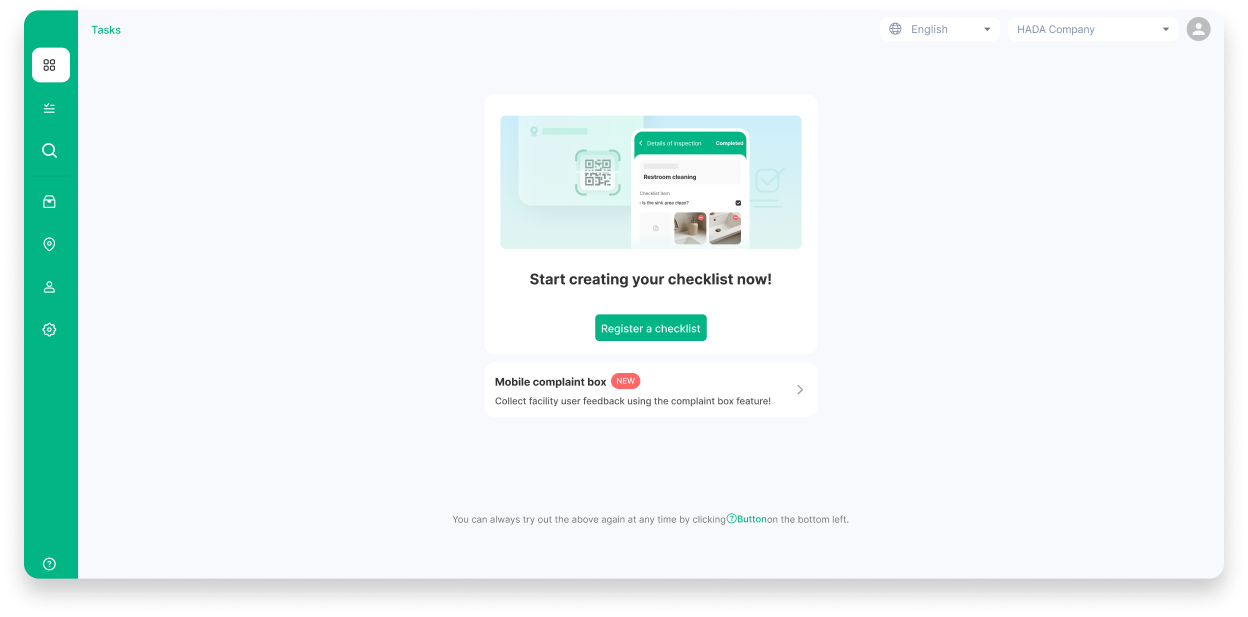
💡 You can change the company name in Settings > Company Information. → Edit Company Information
You can create more companies to manage even if you already have one registered.
1. Go to the Company Management screen. (Access via the top company name menu or by entering Company Management).
2. Click + Add Company in the top right corner.
3. Enter the name in the company name input pop-up and click Add.
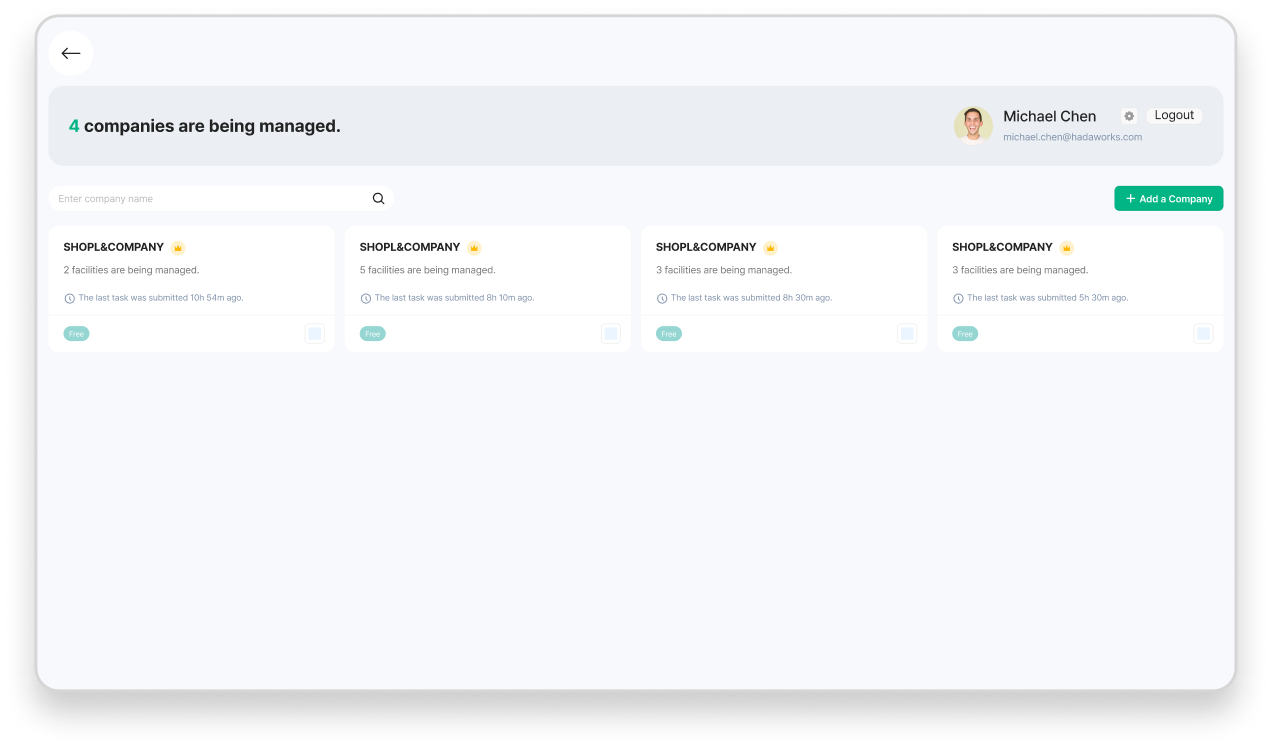
💡 In Company Management, you can use cards to check the number of companies you are managing, the number of facilities (locations) per company, and your subscription plan status.
💡 If you have many companies, you can easily find them by entering the company/organization name in the search bar.
If you created a company by mistake or no longer use it, you can delete it using the method below.
.png)
⚠️ Warning: When a company is deleted, all internal data is erased with it and cannot be recovered, so please proceed with caution!


